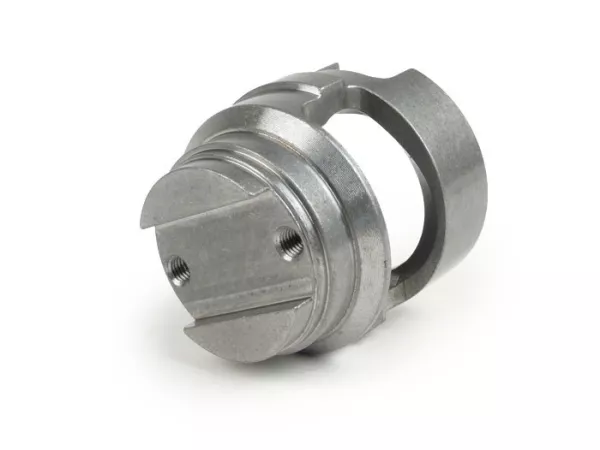
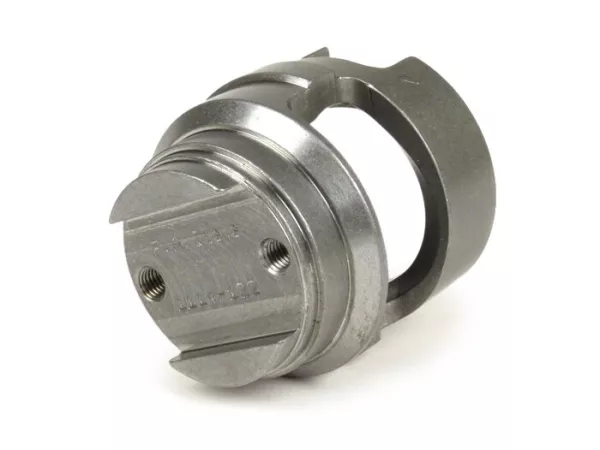
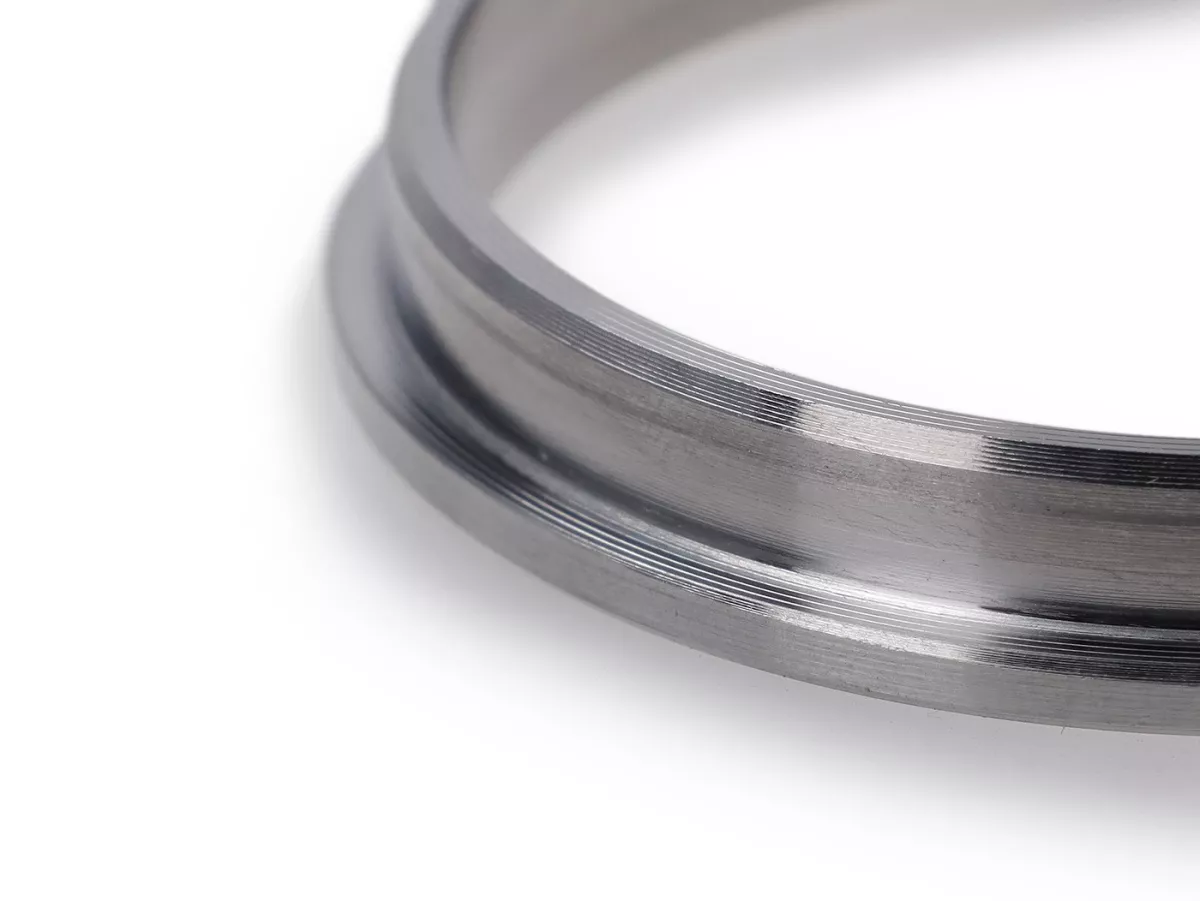
BGM PRO Item number: BGM7030S
BGM PRO
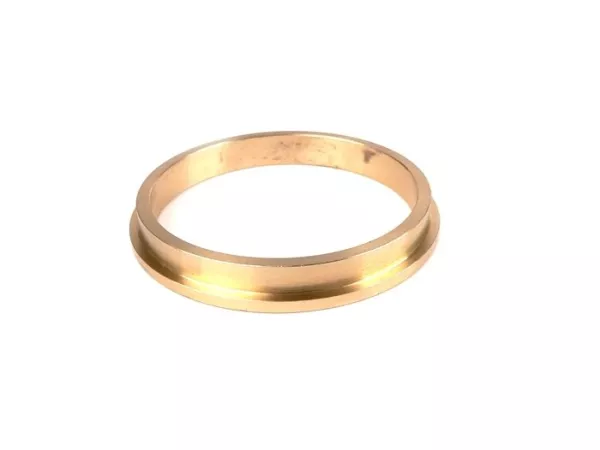
Original sizeDimensionally accurate bushing for a clean fit in the motor housing
Suitable inner diameterDesigned for new kick starter bells, installation without reworking
Plug and playNew bell can be inserted directly without fitting or reaming
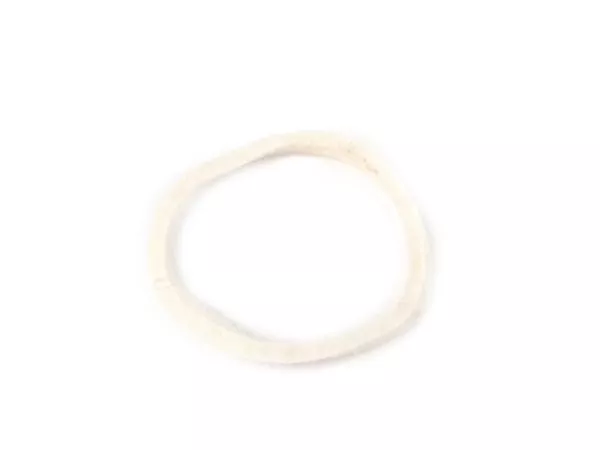
Classic sealingSealing as original via felt ring and cover disk
Repair true to originalFor repairs with a standard look and matching function
19,90 €*
available immediately
Shipping weight 0,03 kg

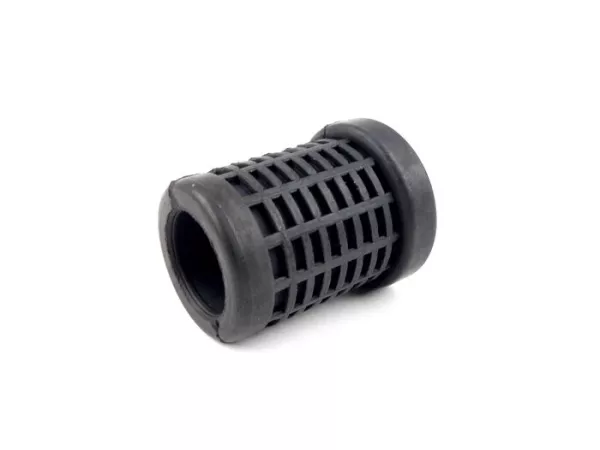
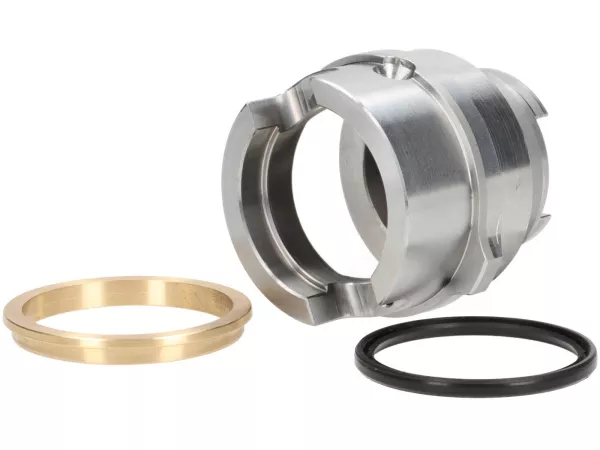
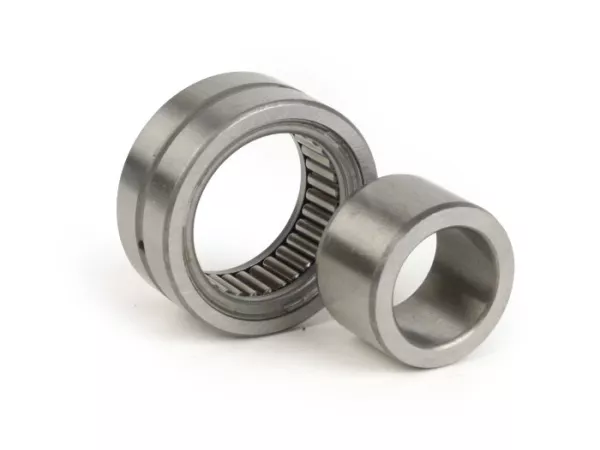
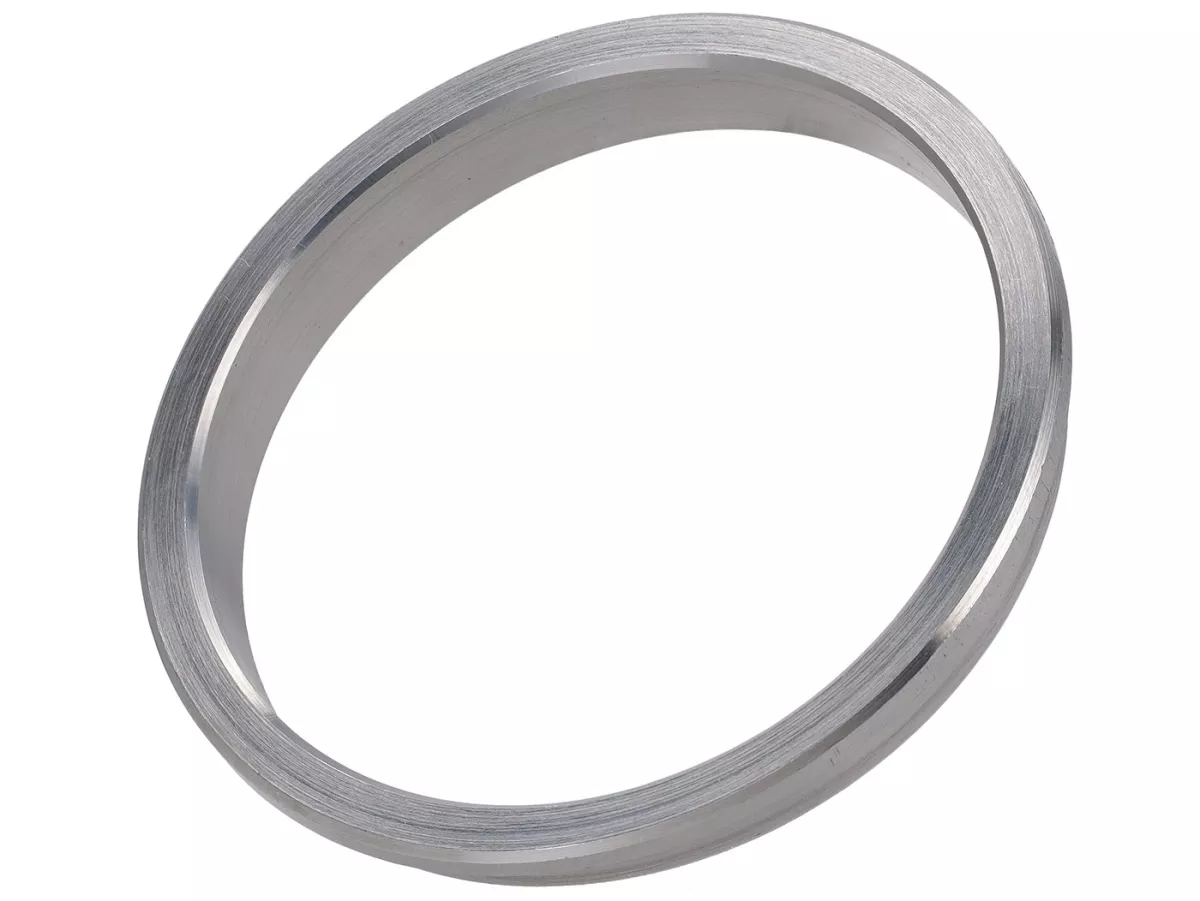
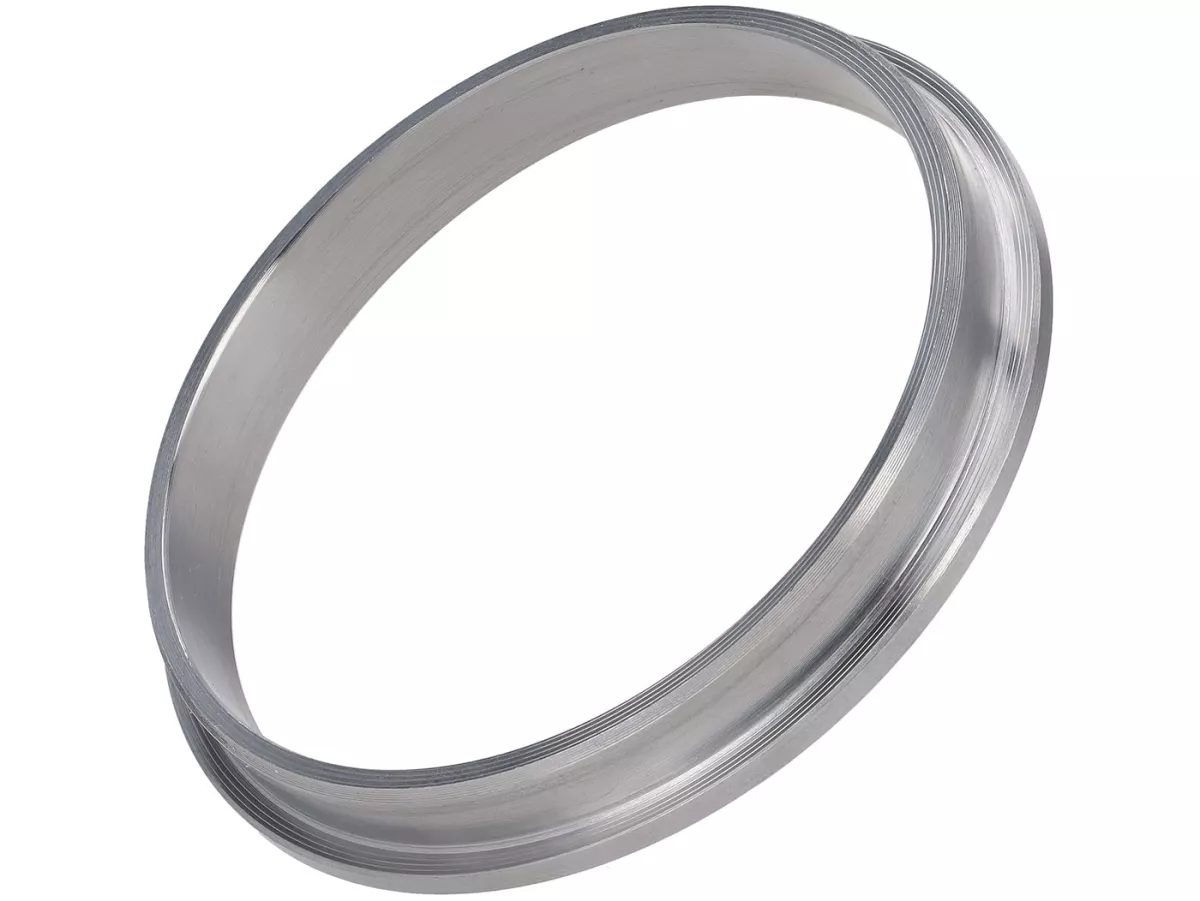
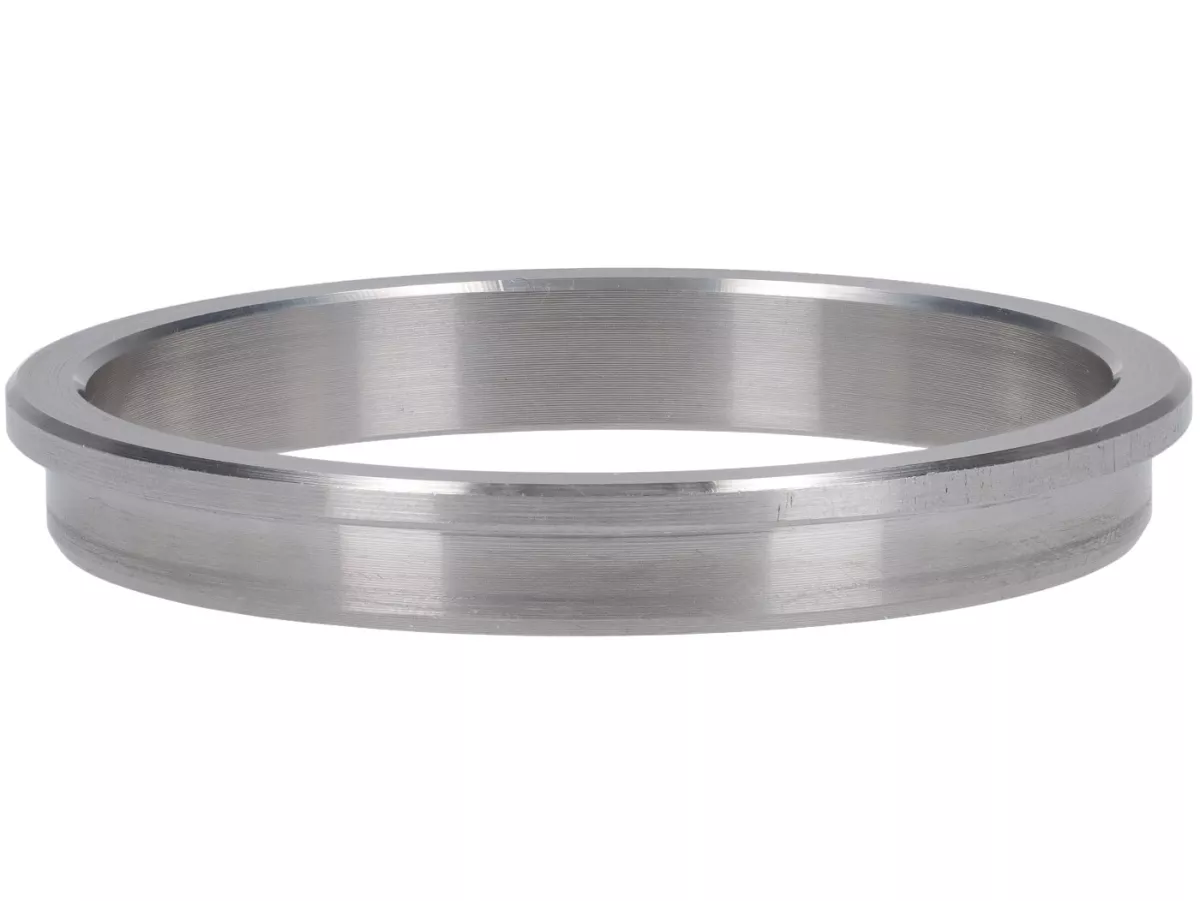
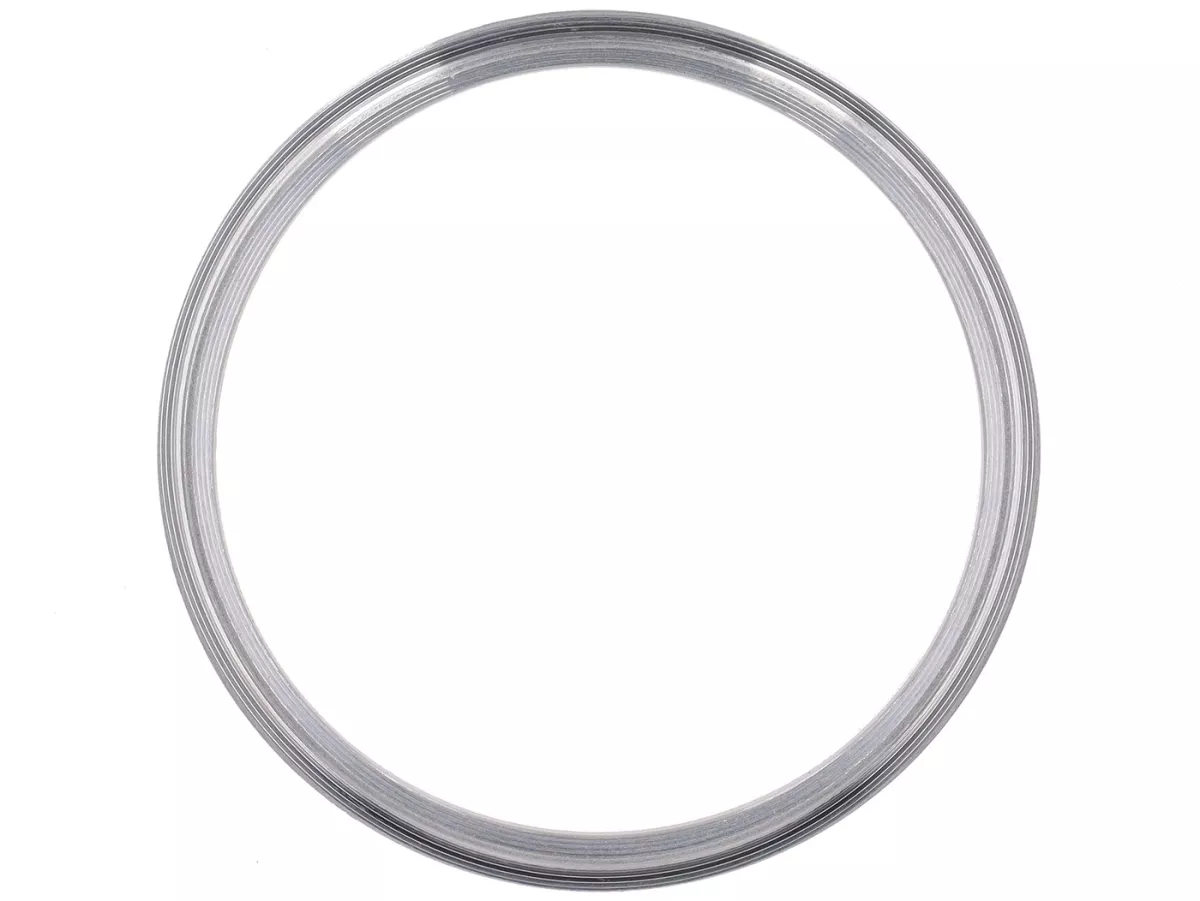
Kick starter bushing - original size - for Vespa engine housing (felt ring seal)

This kickstarter bushing in the original size is intended for a clean, original repair on the engine housing. The inner diameter is matched to new kickstarter bells so that the bell can be fitted directly and without adjustment. Sealing is carried out in the same way as ex works using a felt ring and cover washer - exactly as intended for classic Vespa engines.

Original dimensions for housing seat Inner diameter for new bells Assembly without reworking Felt ring and cover washer

What is the bushing for?

The bushing guides the kickstarter bell in the engine housing. If the bushing is worn out or no longer fits properly, the play in the kickstarter area can increase and the function becomes imprecise. With a suitable, dimensionally accurate bushing, you can restore the guide to the standard level - the basis for a permanently clean kickstarter function.

Fit: original dimensions on the outside, adapted on the inside

Original external dimensions for a secure fit in the engine housing.
Inner diameter suitable for new kick starter bells.
Bell can be fitted directly without reaming or fitting.

Sealing as original

Sealing is carried out in the classic way using a felt ring and cover washer. This is the original solution and is suitable for a body that is to retain the standard look. Important: Always replace the felt ring during an overhaul and fit it clean and lightly oiled.

Practical tip: Remove and refit the bushing

Thermal trick: Heat the housing slightly and freeze the bushing briefly to make installation much easier and more controlled.
Important: Always position the bushing straight and pull it in in a controlled manner so that it does not tilt.

Assembly instructions

Clean the seat in the housing: no burrs, no dirt, no old residue.
Position the bushing straight and pull or press it in in a controlled manner.
Check after pulling in: The bell must run freely and must not jam.
Lightly oil the felt ring and fit together with the cover disk as originally.
If the housing in the bushing seat is damaged or oval, the seat must be repaired, otherwise even a new bushing will not keep it permanently clean.

Key technical data

ComponentBushing for kick starter bell
Outer dimensionOriginal dimension for engine housing assembly
Internal dimensionMatched to new kickstarter bell housing
SealingFelt ring and cover washer (classic)

Scope of delivery

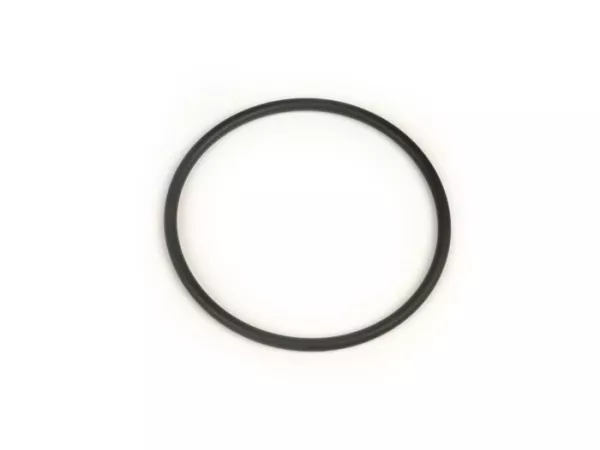
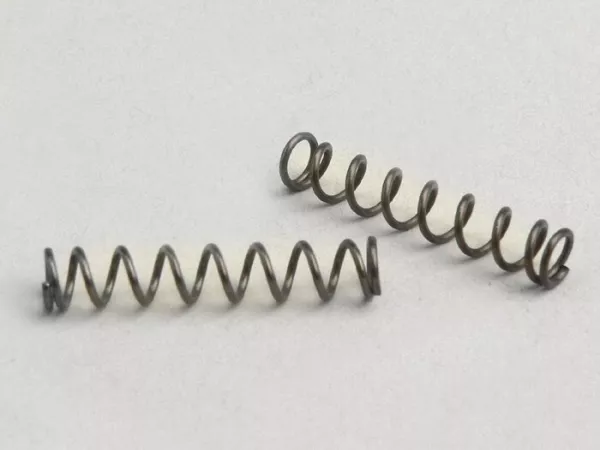
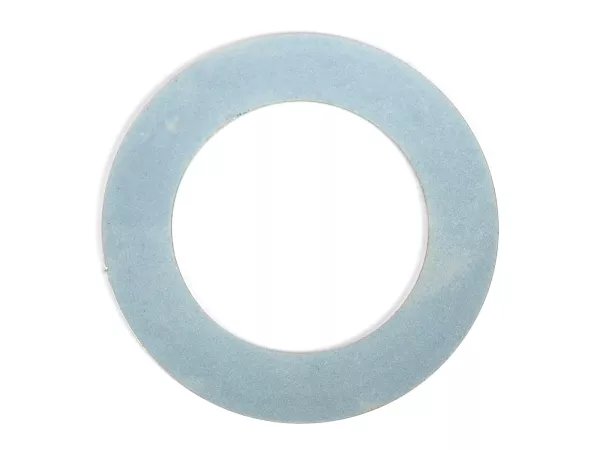
Set contains1x kickstarter bushing (original size, adapted for new bells)

FAQ: Bushing for kickstarter

Frequently asked questions

Why do I need a new kickstarter bushing?
If the old bushing has play, is worn in or no longer fits properly in the housing. A new bushing restores the guidance of the kickstarter bell and ensures precise operation.
Does the new kick starter bell have to be adapted?
No. The inner diameter of the bushing is designed for new kick starter bells and the bell can usually be fitted directly.
How do you seal?
The classic way, as original, using a felt ring and cover washer. Lightly oil the felt ring and it is best to replace it directly during the overhaul.
What is the best way to remove the old bushing?
The cleanest way is to use an internal extractor. Driving it out with a punch and working in parallel is also a good option.
Does the bushing fit on already machined kickstarter bells
No, the bushing is designed for the functional diameter of a new 50.0 mm kickstarter bell.
What if the bushing jams after being pulled in?
Then it is usually tilted or the seat in the housing is damaged. Check the bushing again, rework the seat and then pull it in again in a controlled manner. The bell must run freely.
OEM numbers (for comparison purposes only)
Piaggio:
22387
Matching
Accessories
Matching
Customers also bought