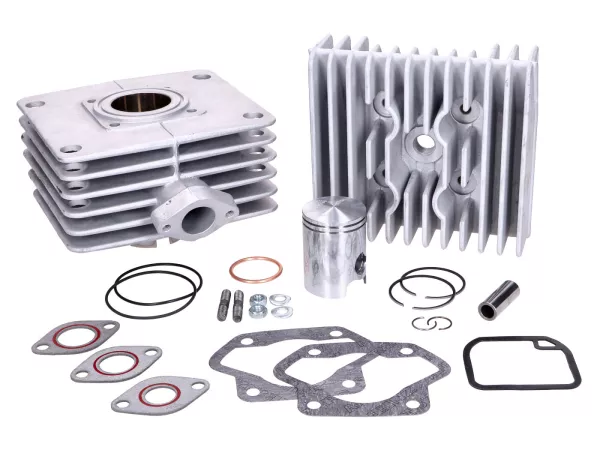
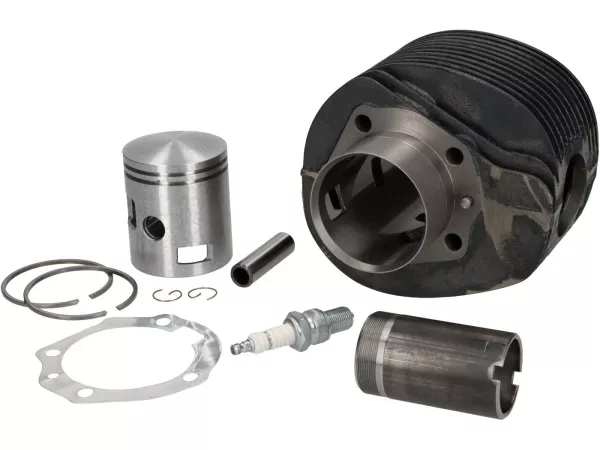
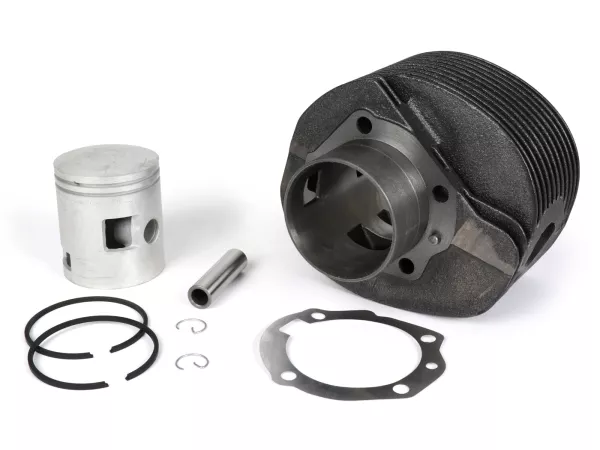
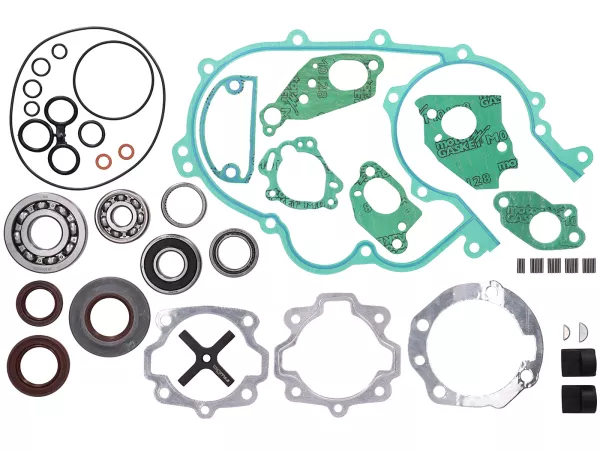
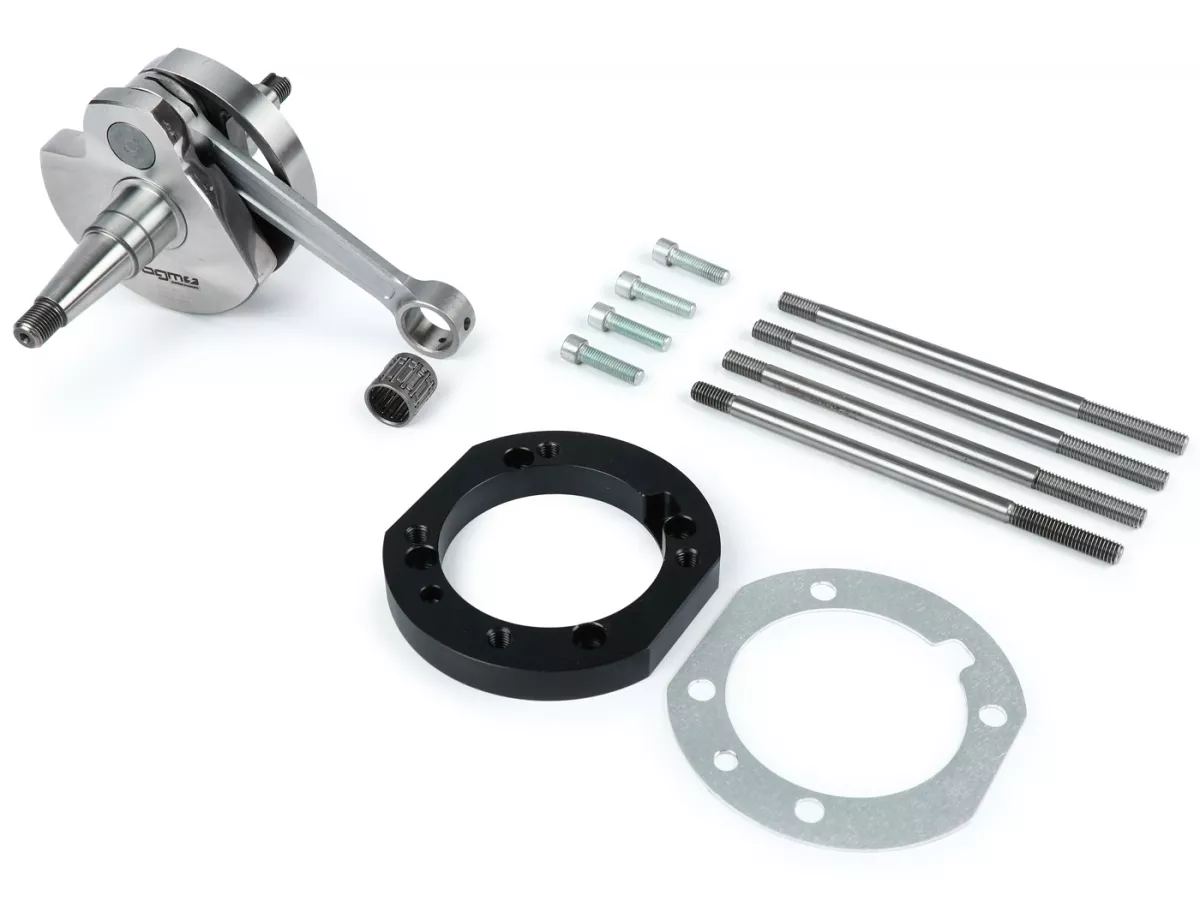
Adapter plate set for converting PX125/150cc engine to PX200 cylinder 12hp
Which rider of a Vespa with only 125cc has not dreamed of experiencing the torque and superiority of a 200cc engine in his vehicle? Enjoying a pass road with power and ease without constantly having to use the lower gears? More power and still have the full reliability of a 200cc engine?
All this is now possible on the basis of an existing 125-150cc engine. With the long-stroke shaft included in the set, the engine power of a standard 200cc engine can be significantly exceeded. In combination with the BGM200 cylinder (improved replica of the standard cylinder) and a good exhaust (e.g. BGM BigBox Touring V2 or Polini Box), stable performance values in the 14-16 hp range are possible, with a very good torque of 17-20 Nm at the rear wheel. With an original Piaggio cylinder, however, it is usually still a considerable 13-15 hp at the rear wheel.
The adapter set is suitable for the following vehicles:
- Vespa Sprint Veloce150 (VLB1T 294260-)
- Vespa GTR125 (VNL2T 145901-)
- Vespa Super150 (VBC1T 412374-)
- Vespa TS125 (VNL3T 18139-)
- Vespa PX125 (VNX1T, VNX2T, ZAPM093), PX150 (VLX1T, ZAPM74, ZAPM094)
- Vespa Cosa125 (VNR1T), Cosa150 (VLR1T)
- LML125/150 2-stroke
- Star/Stella 125/150 2-stroke
Based on an idea by Geoff (J&G 2% Vespa Tuning) and the technical implementation by W.T., we subjected the set to an extensive and lengthy stress test on the road and highway. The result is so convincing and reliable that we can now offer it as a set for the experienced mechanic. It enables the use of a PX200 original/BGM cylinder (Ø66.5 mm) of the PX200/Rally/Cosa models on the engine housings of the Vespa Largeframe models from 1977 onwards. From this date onwards, the engine housings were converted to three overcurrent channels or to the crankshaft of the PX models (please pay attention to the frontier chassis number for vehicles before 1980). In general, the set fits any engine with three overcurrent channels and the PX crankshaft type (recognizable by a pole nut with M12 thread).
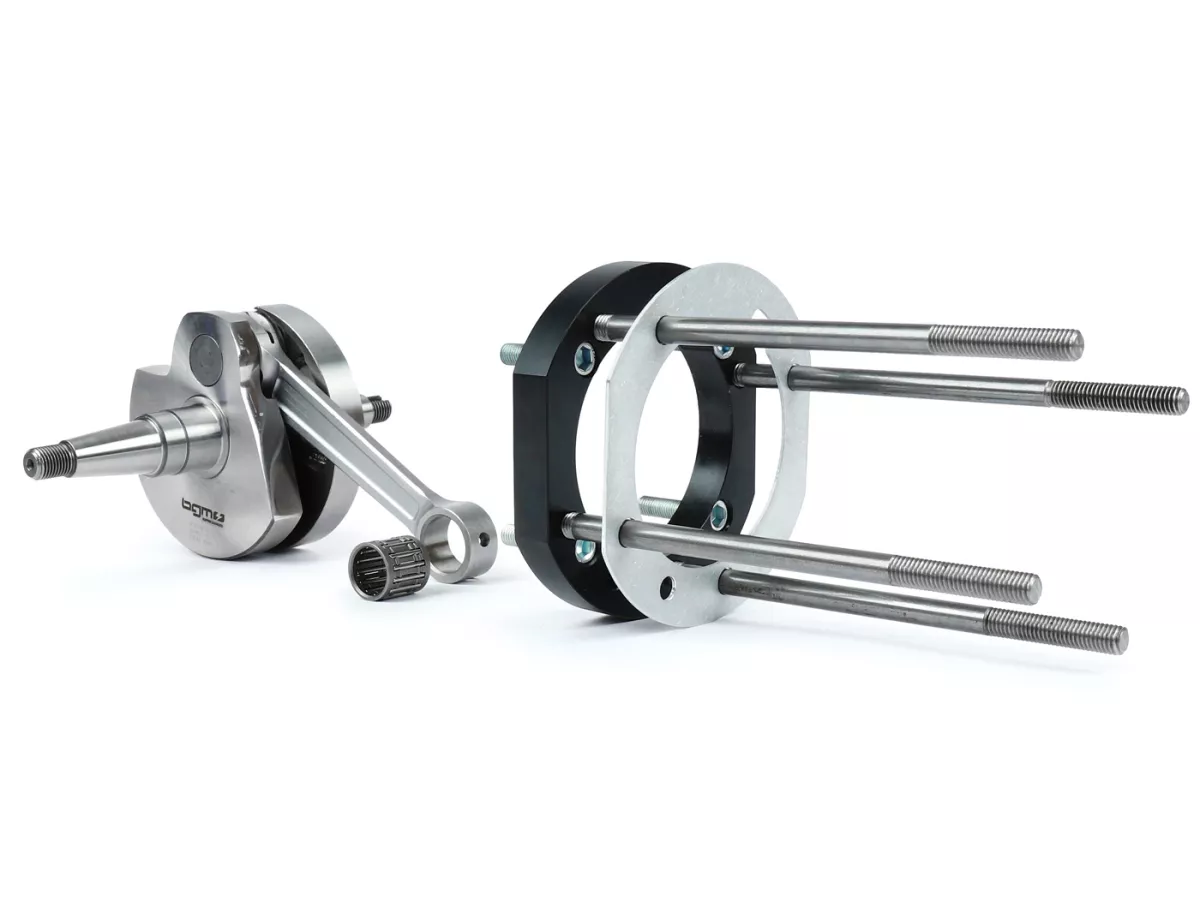
The adapter set includes:
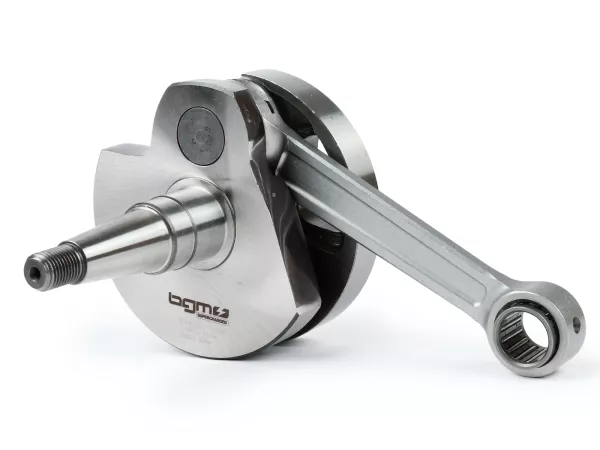
- Crankshaft BGM Touring stroke 60, connecting rod 125 mm
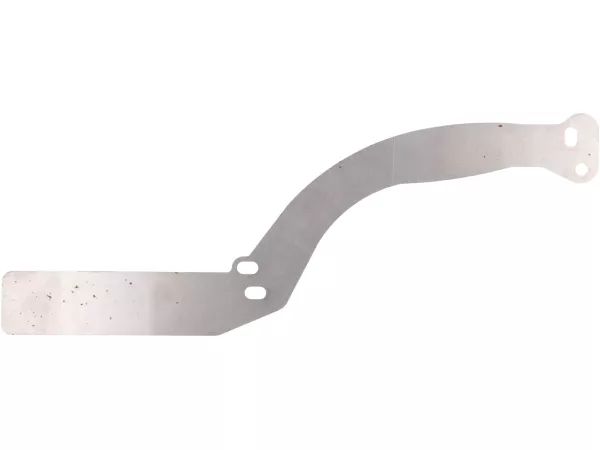
- 1x adapter plate steel 14 mm
- 1x aluminum spacer 1.5 mm
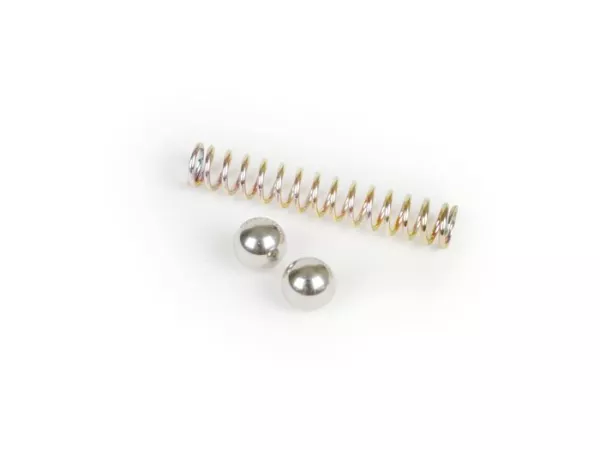
- 4x stud bolts M8x165mm
- 4x screws M7x25mm
To convert this engine to 200cc, you will need the adapter set:
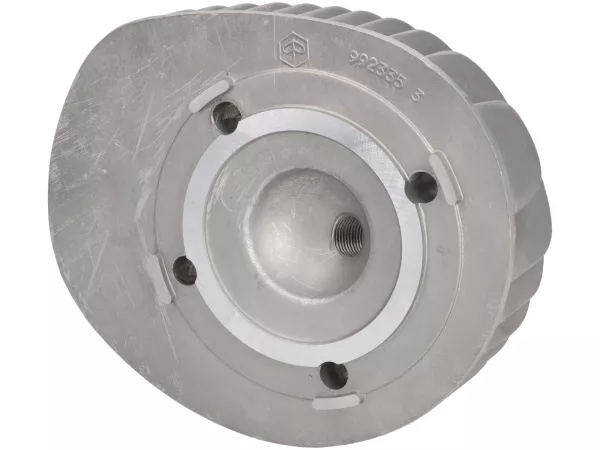
- Cylinder + cylinder head PX200
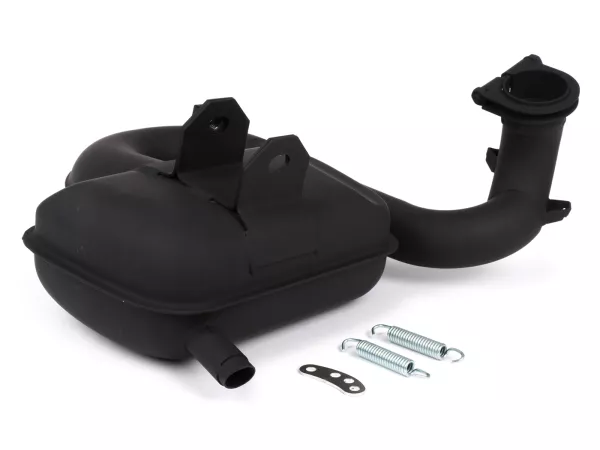
- Exhaust PX200
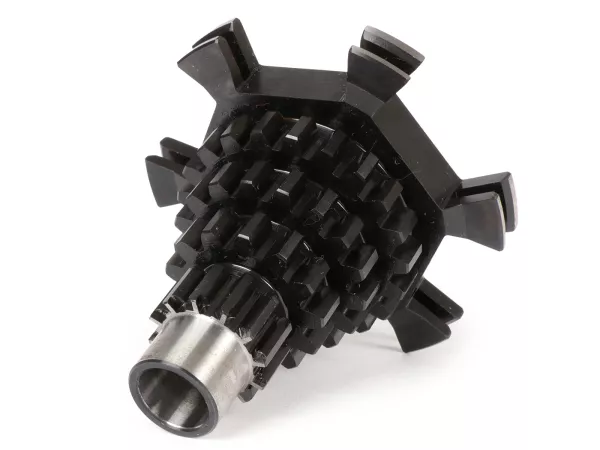
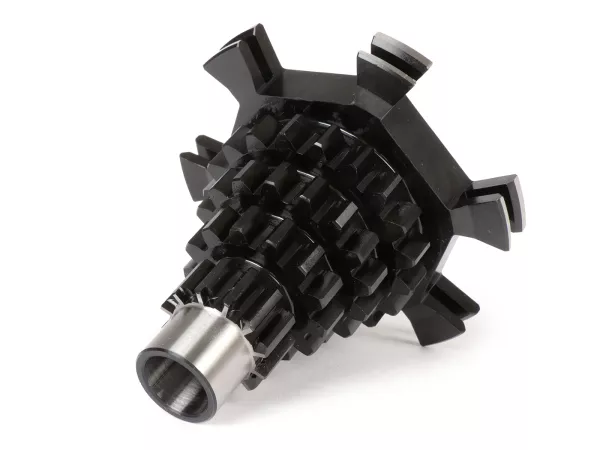
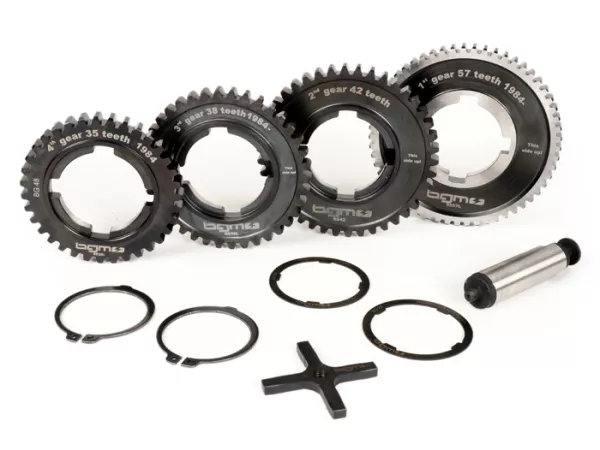
- Longer gear reduction
- Reinforced clutch
ADAPTER-SET
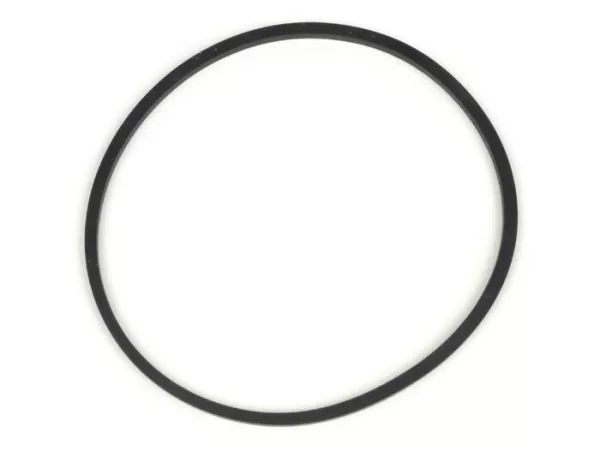
The conversion is based on a crankshaft with a 20 mm longer connecting rod (125 mm instead of 105 mm). The solid CNC-milled steel adapter plate is screwed onto the engine housing and accommodates the stud bolts for the PX200 cylinder. A 1.5mm thick aluminum gasket between the adapter plate and cylinder base seals the bolt holes and ensures the correct installation height.
ORIGINAL
CYLINDER (no case spindles required for 125-150cc)
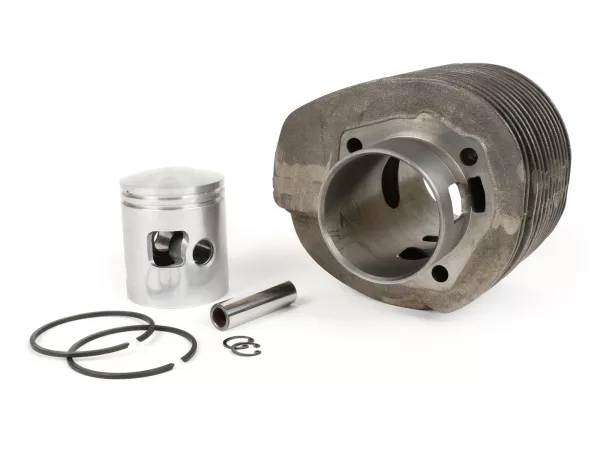
The adapter set SC80200KT (without crankshaft) or SC80200SET (incl. crankshaft) is designed for use with an original (or near-original) PX200 cylinder. The existing cylinder is simply shortened slightly at the base (use the adapter plate as a template). This can even be done with a simple hacksaw or an angle grinder. The better solution is, of course, turning on a lathe. It is important to make a chamfer at the end of the cylinder bore so that the piston rings can be easily inserted into the cylinder. However, we will also be offering cylinders that fit directly. These are based on the BGM200 cylinder, which already has slightly more power/torque than the standard cylinder. If you have the means, you can also enlarge the engine housing in the area of the cylinder base mount (spindling). Any cylinder that fits the original PX200 engines can then be used in future (with the exception of cylinders that already require a longer connecting rod (e.g. Quattrini)).
PX80
The PX80 models have a smaller cylinder base mount than the 125-150cc models. To be able to use the set here, the diameter of the housing must be increased in the area of the cylinder base mount. Either to Ø68mm to accommodate only the piston running downwards or directly to Ø74mm, which eliminates the need to shorten the cylinder base.
KURBELWELLE
The BGM crankshaft fits into the engine housing of the PX80-150cc models without modifications.
It has adapted timing angles and harmonizes perfectly with the intake of the PX80-150cc models.
CARBURETOR
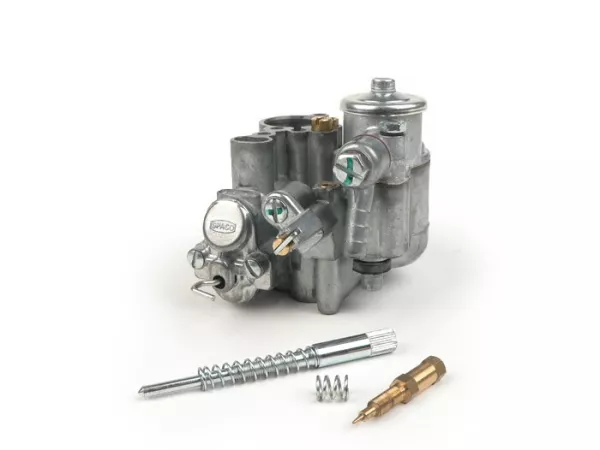
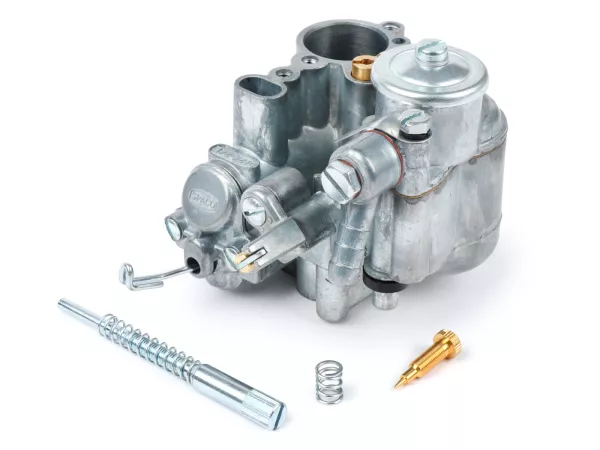
The standard carburetor (SI20/20D) can be retained, provided it is adapted by the jetting (use the basic tuning of the PX200). However, the carburetor of the PX200 models (SI24/24E) provides more power and torque. This also has the appropriate jetting. To fit the SI24 carburettor, the carburettor bowl should be adapted in the passage (this can be done quickly with a file or a Dremel/Proxxon tool).
GEARBOX
To make good use of the significantly higher and early torque, the reduction ratio should be extended:
80cc
The PX80 has its own secondary gearbox, which is very short (the original third gear of the PX200 already has a longer reduction ratio than the fourth gear of the PX80! If the PX80 gearbox is to be retained, it can be used with an extra-long reduction primary from e.g. BGM (25/62). This is used in conjunction with a stable clutch of type COSA2, e.g. a BGM Superstrong clutch. Alternatively, a gearbox from the PX125/150 models can also be used in the PX80 engine housings with minor conversion work.
To do this, either the diameter of the auxiliary shaft axle on the alternator side is turned down or the engine housing is enlarged at the mount for the auxiliary shaft.
125/150cc
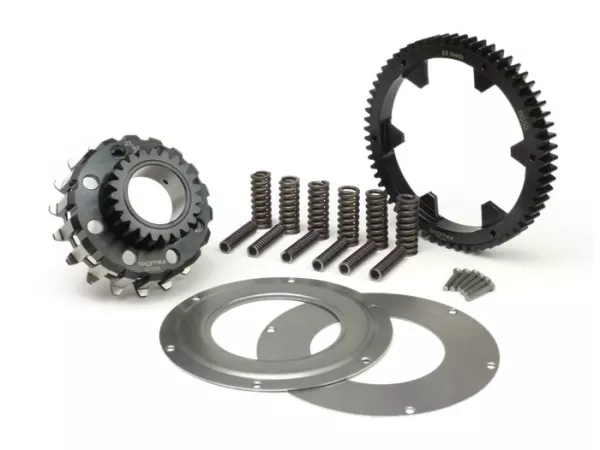
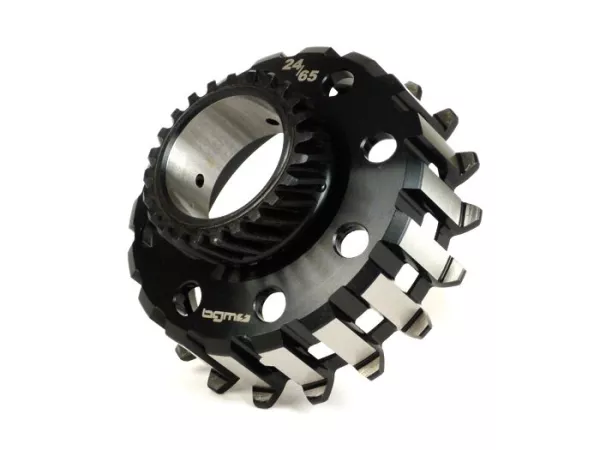
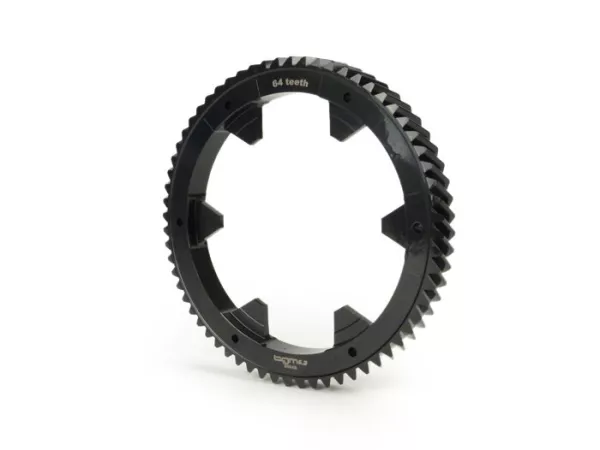
With 125/150cc engines, it is sufficient to change to the components of the 200cc engines on the primary side (primary wheel 64Z (BGM) or 65Z, clutch pinion 23Z or 24Z (BGM).
CL
UTCH
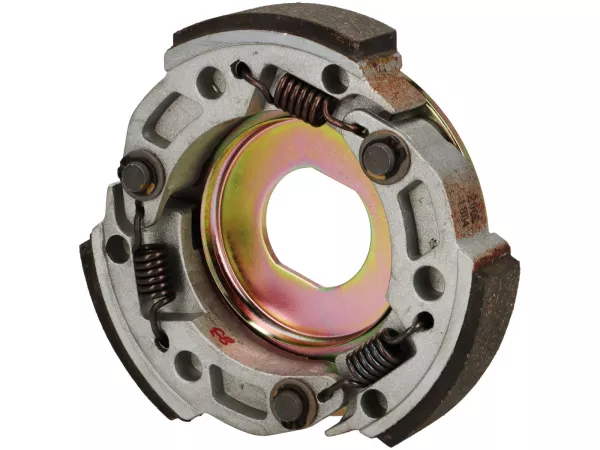
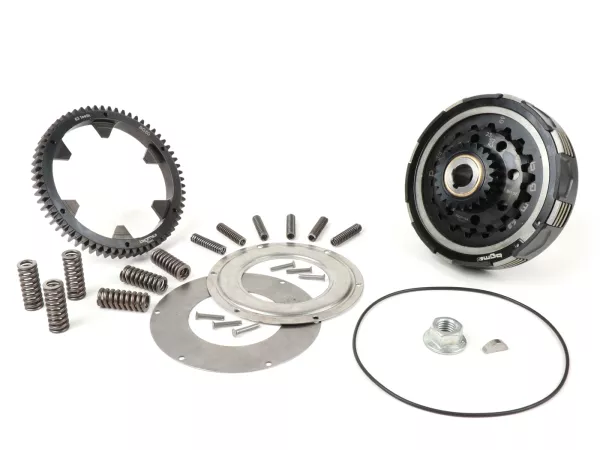
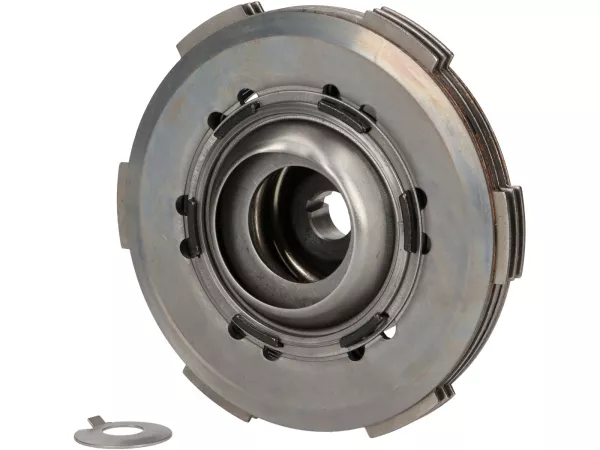
The 80-150cc models up to 1998 still use small clutches with 6 springs (108 mm basket diameter). These cannot cope with the high torque of 200cc engines in the long term. They should therefore be replaced with a corresponding clutch for 200cc models. A good option is to change directly to the most modern clutch type of the COSA2 models. The BGM Pro Superstrong is a very high-quality and stable clutch that is also easy to operate.
IGNITION/POLYWHEEL
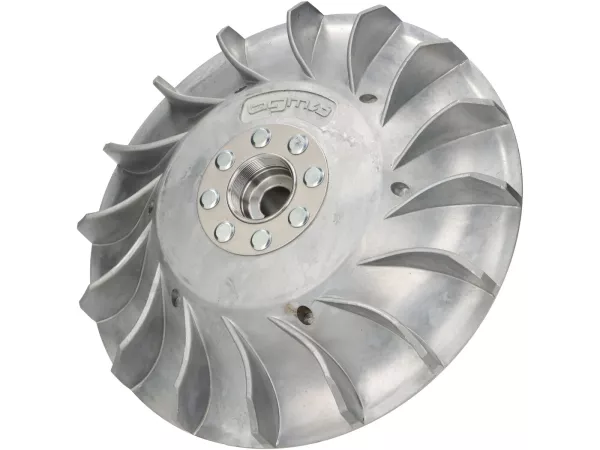
These can easily be taken over from the donor engine. The ignition setting is adjusted according to the cylinder (18°-23° from top speed). Of course, other ignitions/pole wheels can also be used for further tuning purposes. Our test engine ran with the BGM Touring pole wheel with 2300 grams, which harmonizes very well with the performance characteristics of the 200cc engines.
CYLINDER COVER
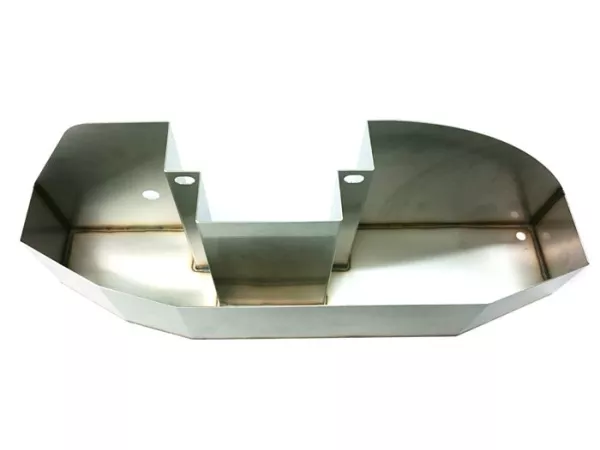
Due to the 15 mm increase in cylinder height, the cooling cover must also be extended accordingly. We simply used two hoods and cut off the lower third of one of them. We then connected this to the complete other hood using conventional self-tapping screws. Of course, this can also be done more easily, but for us this method has also proven itself in everyday use. Alternatively, the hoods can also be welded with a soldering iron. Special plastic welding rods are also available for this, but as a rule you can also use the remains of the sacrificed hood as filler material.
AUSPUFF
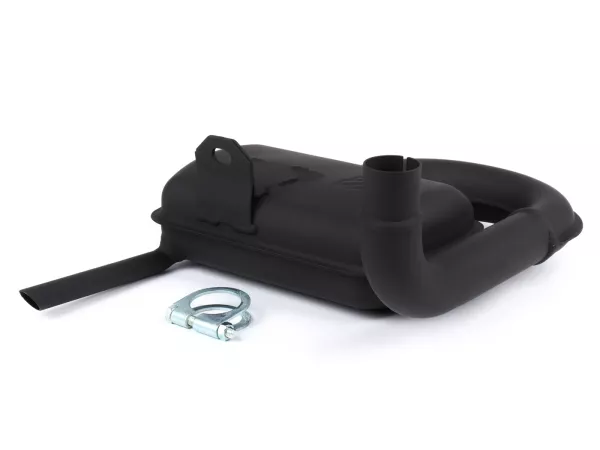
Due to the higher cylinder position, the exhaust may need to be adjusted. Our experience has shown that the Polini box systems have to be modified (twist the mounting brackets). The BGM Touring V2 systems (BGM1011TR2), on the other hand, worked on our setup without any adjustments.
CYLINDER DISASSEMBLY
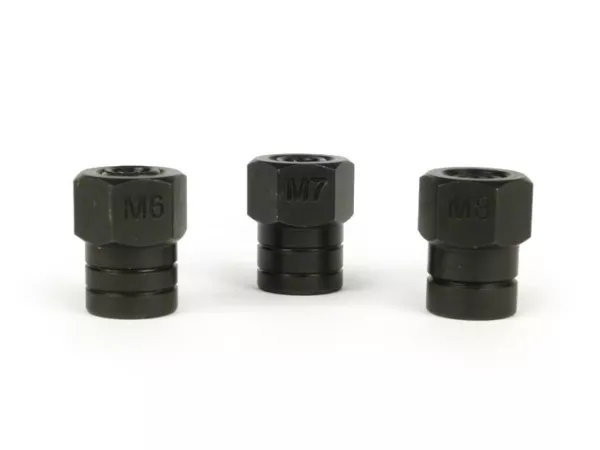
Due to the raised cylinder, it is not possible to remove the cylinder head/cylinder while the engine is installed in the chassis. Alternatively, the stud bolts can be locked with our BGM72M7 tool and unscrewed from the adapter plate when the cylinder is fitted. In this way, both the head and the cylinder can be removed with the engine suspended in the frame. This procedure is not normally recommended, as the threads in the soft aluminum of the engine housing are not designed for frequent disassembly/assembly. The original stud bolts from Piaggio have a thickened thread on the side where they are screwed into the engine housing, which causes them to jam in the housing.
However, due to the other stud bolts we use and the steel adapter plate material, this is completely uncritical.
CONCLUSION
If you enjoy motor work and are not afraid of minor adjustments, you can build a powerful and durable motor with little effort without having to use a new motor housing.

 DE | €