Postage free from 99€ (DE)
High customer satisfaction


 DE | €
- Blog
- Better wrenching with Baratella: fitting and precisely adjusting the Smallframe Vespa gearbox
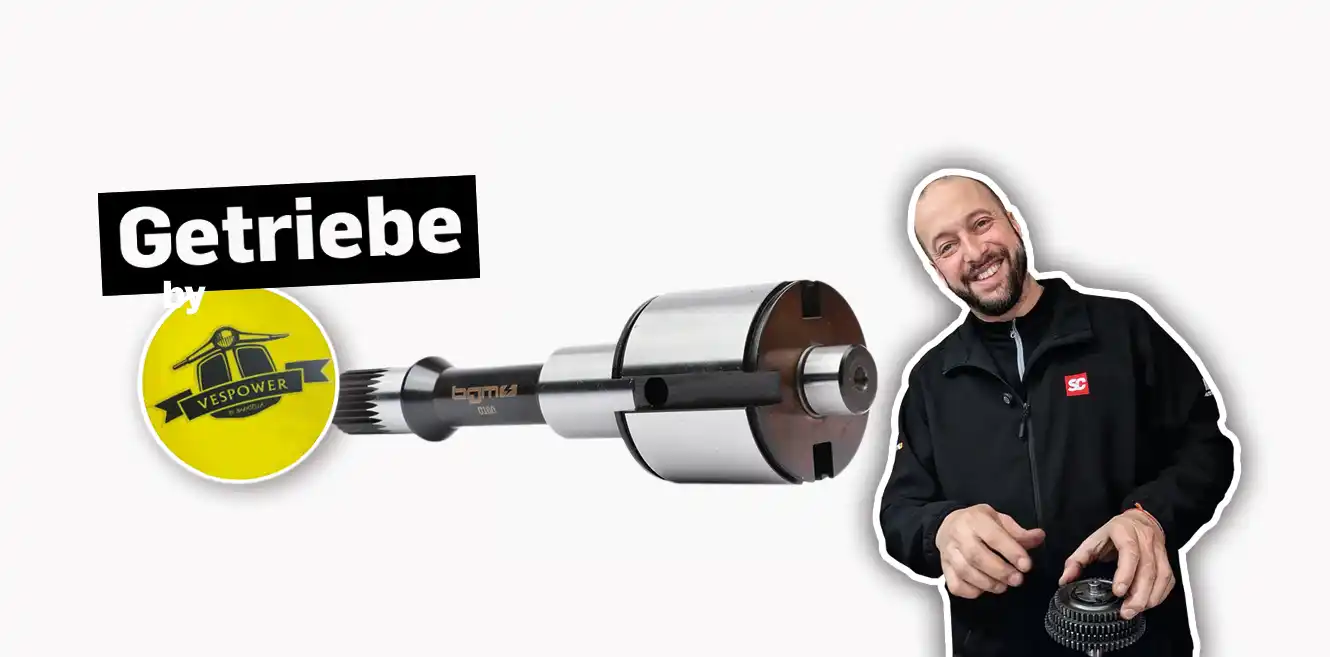
A clean-shifting transmission is the difference between driving pleasure and frustration at the traffic lights. In the third episode of our series with smallframe expert Ferdinand Baratella, we get down to the nitty-gritty: We put the gearbox together and - more importantly - distance it perfectly. In this video, Ferdinand shows you step by step what it takes to ensure that your Vespa shifts smoothly and the gears stay where they belong.
Before even touching the first gearwheel, Ferdinand checks the axle (main shaft). For him, concentricity of more than a tenth of a millimeter is a criterion for exclusion. "An axle costs too little for that" - he's right! Safety first.
Anyone who has ever changed a gearshift claw knows the struggle with the spring and the small balls. Ferdinand demonstrates his tried-and-tested method, but in fairness also points out the BGM assembly tool, which makes this step much easier on the nerves. Incidentally, a reinforced BGM spring is used here to match the BGM gearshift claw - ideal for more powerful engines.
Once the gears (1st to 4th gear) have been threaded on, the decisive moment arrives: adjusting the gear backlash using shoulder rings. The rule here is: measuring is good, testing is better. In the video you can see very clearly that theory (measuring with the feeler gauge) and practice (actual play after fitting the snap ring) sometimes differ. Ferdinand takes us through the process of "feeling it out" until the gearbox has the perfect play of approx. 0.10mm to 0.15mm - "sucking", as the professional says.
Watch the video to see how to get your gearbox ready for the next season!