Postage free from 99€ (DE)
High customer satisfaction
Shipping today with order in 7 h 36 min
- Blog
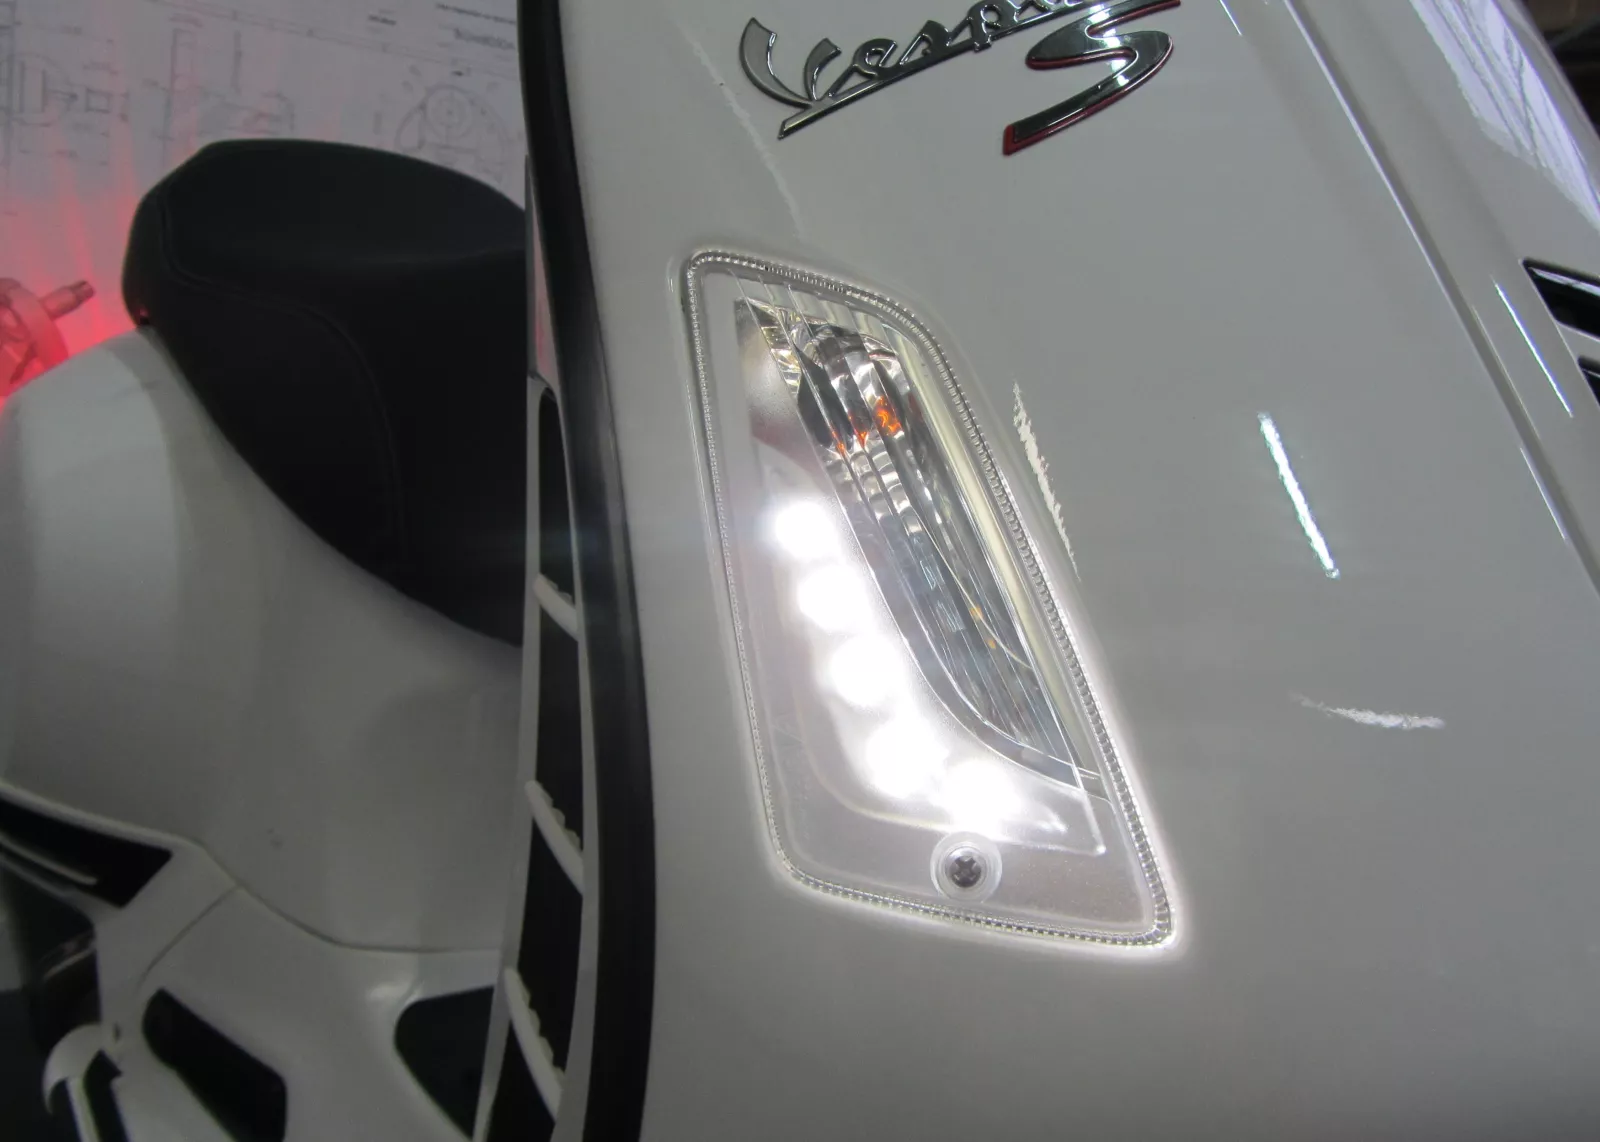
- Turn signal conversion kit -BGM PRO, LED daytime running light- Vespa GTS


 Of course you can also get the cable separately if you already have the indicators: PV60CKT Cable adapter kit blinker conversion -BGM PRO, LED daytime running light- Vespa GTS

 You then have to look through the maintenance flap in the bowels of the electrical system. The object of desire is a free wiring harness with an 8-way multi-connector. If the vehicle has an alarm system, it will be plugged in there. In some vehicles, this free cable branch is fixed to the glove compartment with a retaining clip - here is a view through the front blinker opening.
  The cascade is only secured with an internal multi-tooth screw (TX), concealed behind the Piaggio emblem. The emblem has a small gap on the left-hand side in the direction of travel and can be lifted from there with a narrow slotted screwdriver.
  The only screw of the cascade is hidden underneath. This is loosened and removed with a TXS25 wrench.
  The cascade is removed from the top/front. Remove both indicators using a PH2 Phillips screwdriver.
  and disconnect the plug connection. The safety clip can be easily operated with a flat-blade screwdriver.
  Once both indicators have been removed, the new cable branch is plugged into the 8-way connector.
  If the scooter is fitted with a Piaggio alarm system a so-called cable switch or Ypsilon piece is required. PV60CKTA Cable switch -BGM PRO, LED daytime running light/alarm system- Vespa GTS (2003-2013)
  The cable switch is simply plugged between the wiring harness of the vehicle and the alarm system. The function of the alarm system is still guaranteed without restriction.
  The longer end of the new turn signal cable branch is routed behind the cascade to the right-hand side, where it is connected to the original connection and the new LED turn signal.
  On the blinker on the right-hand side, the black multi-plug must be pushed out of the guide on the blinker housing, otherwise the blinker will not fit back into the cut-out in the frame.
  On the left-hand side in the direction of travel, the black multi-plug remains in position on the blinker housing.
  Once all the plug contacts are connected, the indicators, maintenance flap and cascade are reattached. Finished.